Sales Channel
Last updated December 10, 2025
Setup
See how to set up a sales channel here:
Price Level Setup
Before setting up a new sales channel, you need to have an associated price level. If the pricing is different than your base in-store pricing, you need to setup a custom price level with a markup .
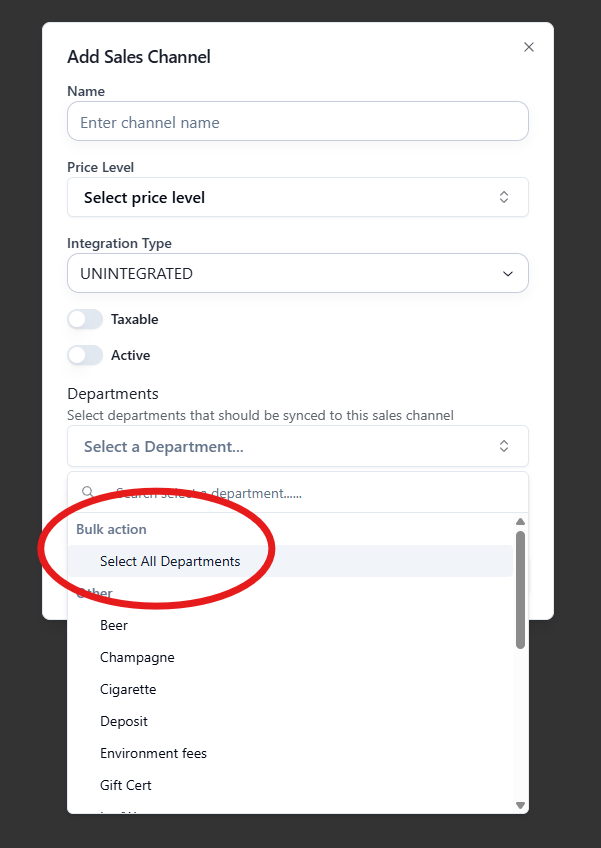
Department Selection
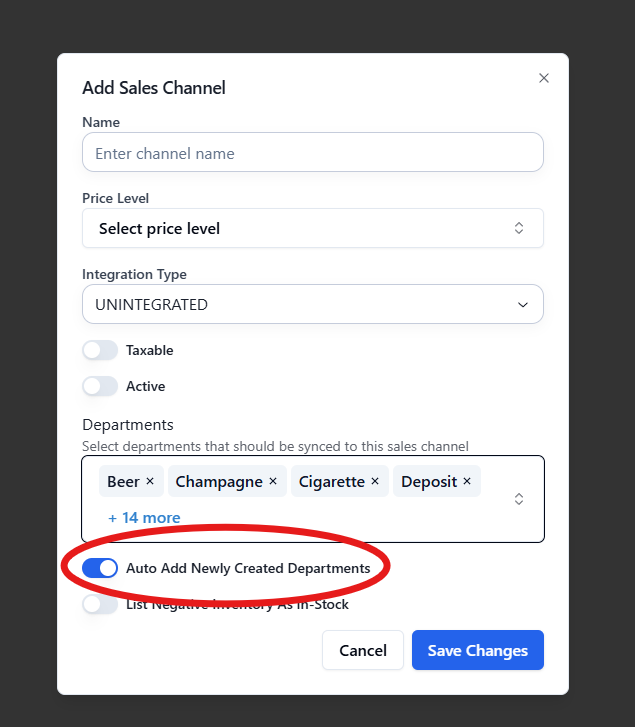
- You may select which departments you want to sync. To sync all items possible, you may choose "Select All Departments" and enable "Auto Add Newly Created Departments"
Inventory Management
- List Negative Inventory as In-Stock
- You may want to use this option if you do not keep track of inventory on certain items but could have in stores
- Quantity 0 is shown as inactive
- If an item is marked as non-inventory, the following will occur:
- If it is a child item, it will use the parent's quantity
- Otherwise, we will pass a quantity of 10 to the integration
- This number is arbitrarily chosen and is subject to change
- Managing Item Integration per Sales Channel
- Navigate to an item
- Click Sales Channels
- You may enable or disable an item from being integrated with in certain sales channels
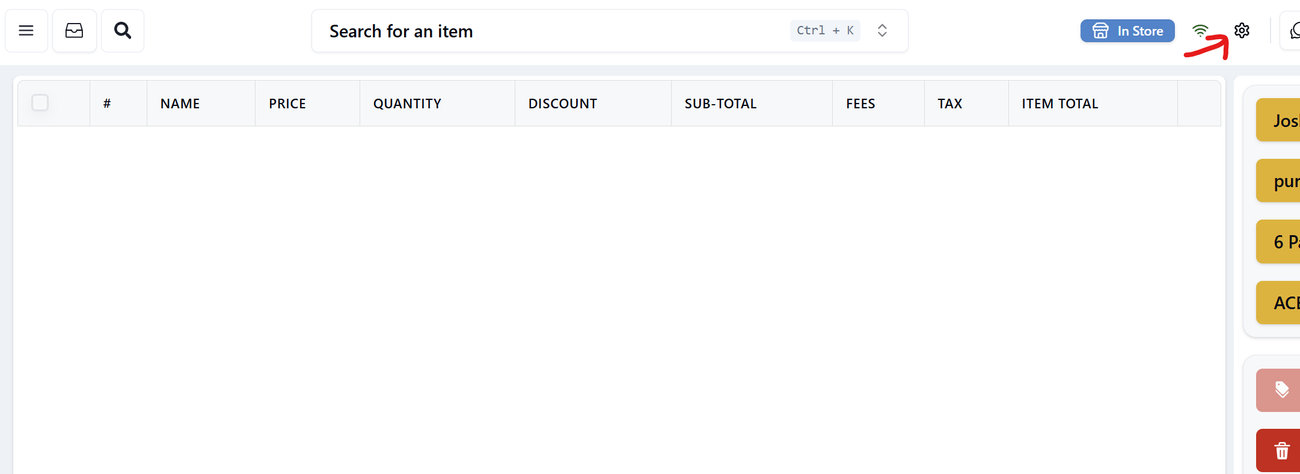
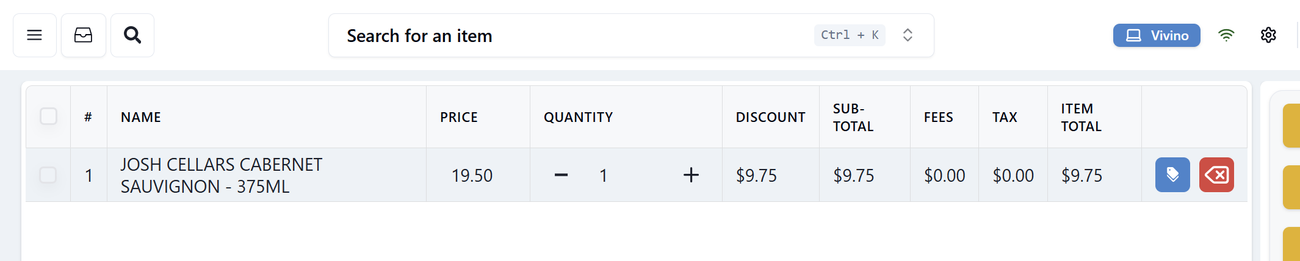
How to use Sales Channel
- Click on gear icon on the top to open up the sales channel menu.
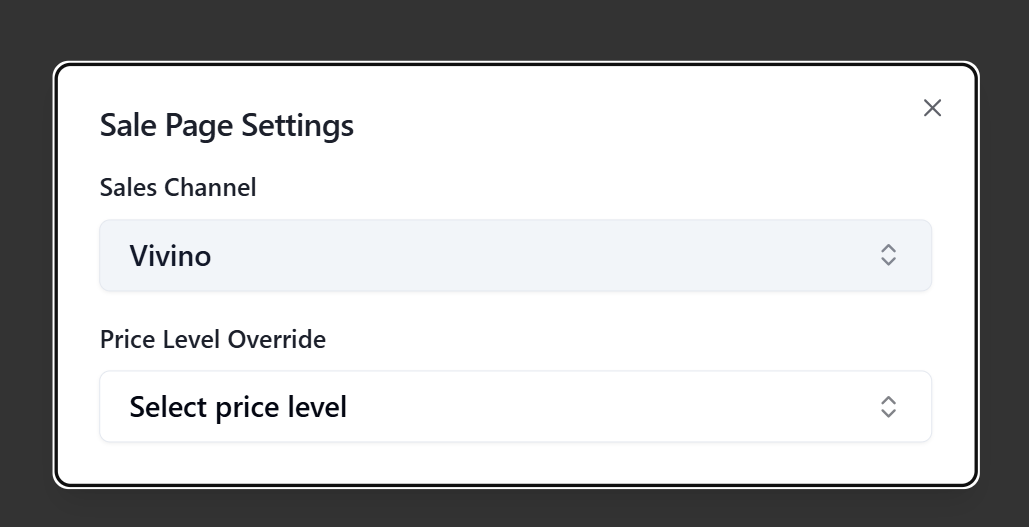
- Select the sales channel you want to use.
- Start scanning items to check out.
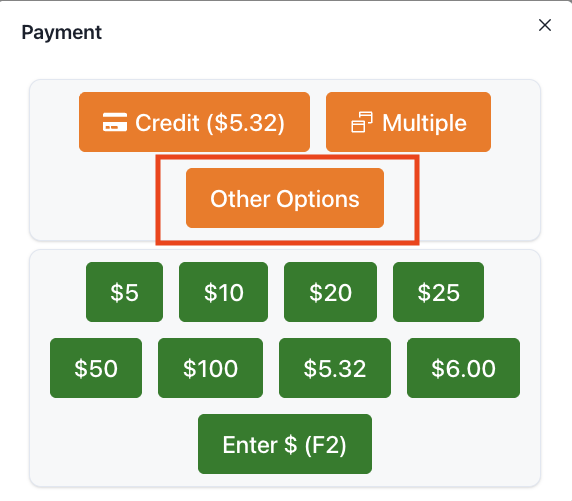
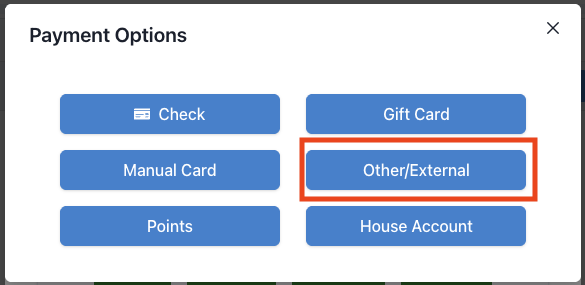
- Finish payment by clicking "Pay" -> "Other" -> "Other/External"
Was this article helpful?