Shelf Talkers
Last updated June 17, 2025
You can generate shelf talker labels for items in our system. To do so, you can create presets using powerpoint/google slides and create tasks from those presets:
Creating a Shelf Talker Preset
Powerpoint Template
Here is a sample template to see the end result of the process explained below.
The presets will follow the layout of your powerpoint file. To set the size of the powerpoint template
- Click on 'Design' in the tabs
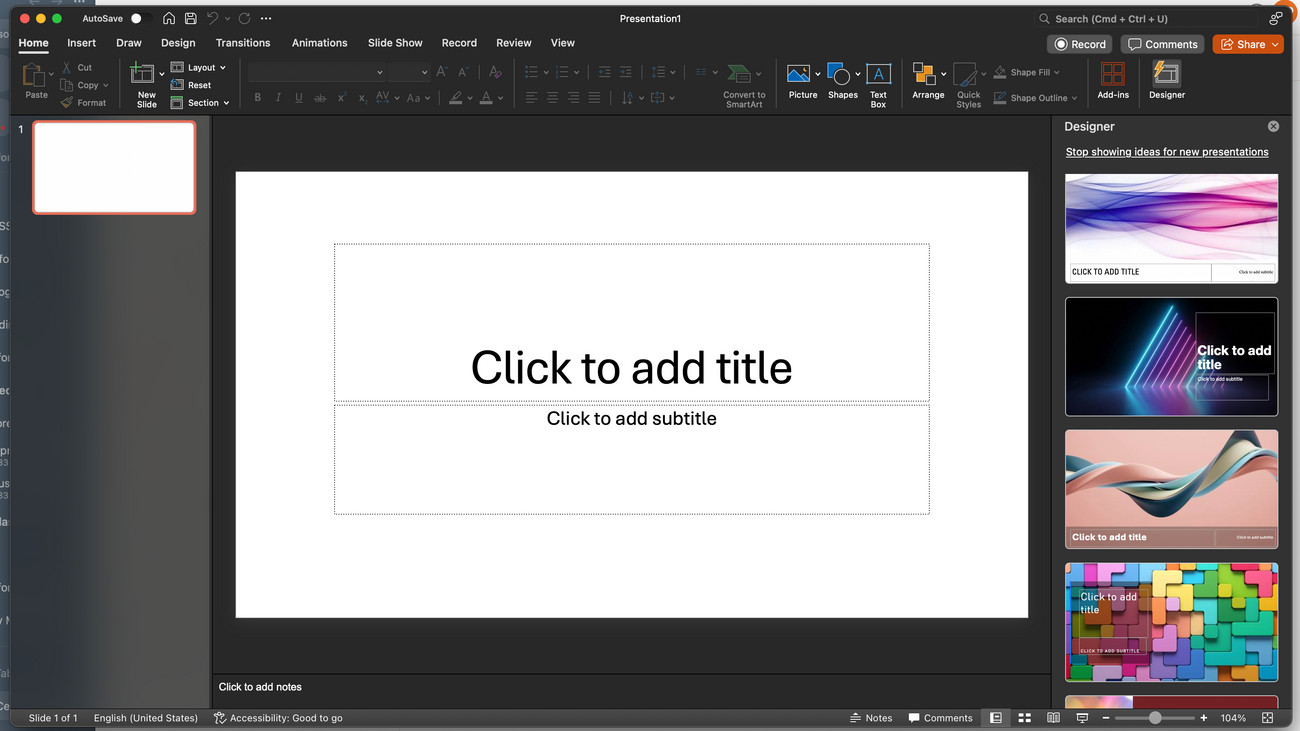
- Click on 'Slide Size' and then 'Page Setup'
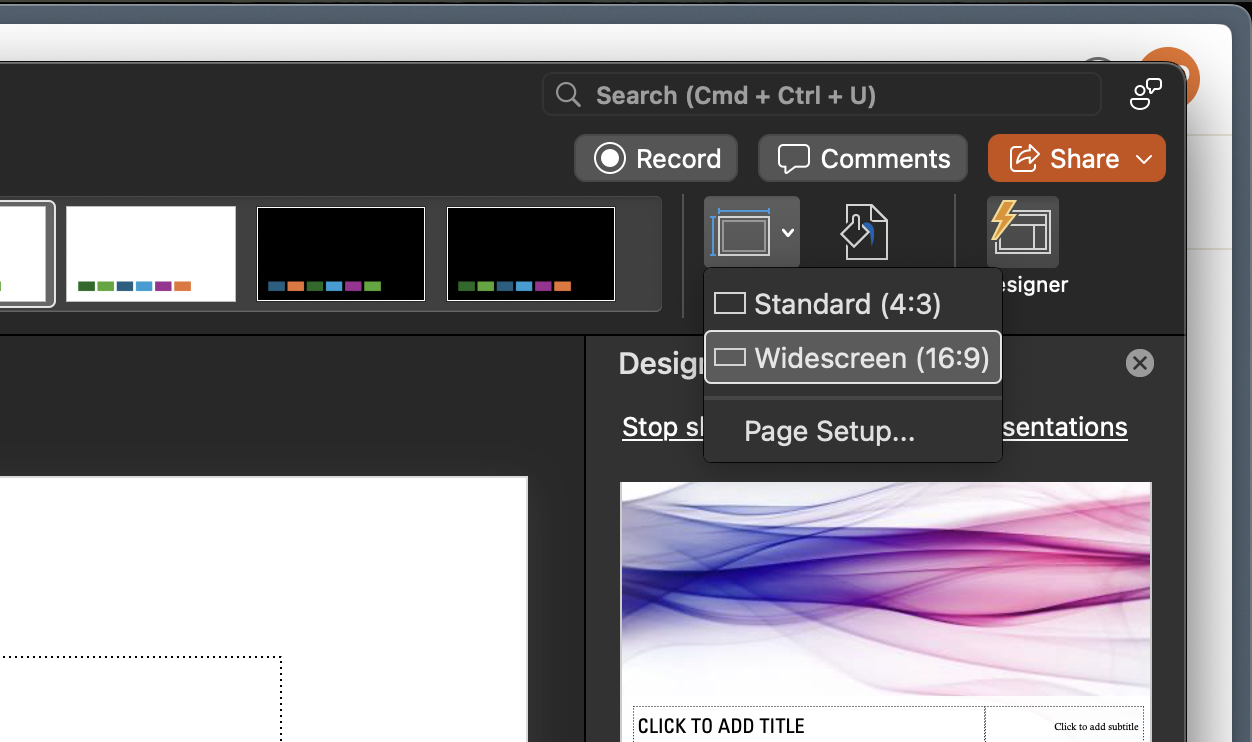
- Adjust the settings to the size you desire and press 'Ok'

Template Variables
To dynamically set fields on the shelf talker template you can add text boxes with the following variables:
- ${name}
- Name of the item
- ${price}
- Price of the item
- ${size}
- Size of the item
- ${quantity}
- Current quantity on hand of the item
- ${custom:<CUSTOM_FIELD>}
- Replace with the value of a custom field
- ${price:<PRICE_LEVEL>}
- Replace with the the price level
- ${vintage:<VINTAGE_FIELD>}
- Vintage field (rating, reviewer, vintage, note)
- ${barcode}
- Replace with image of barcode
- ${pack}
- Replace with pack size of item (4pk, 6pk, etc)
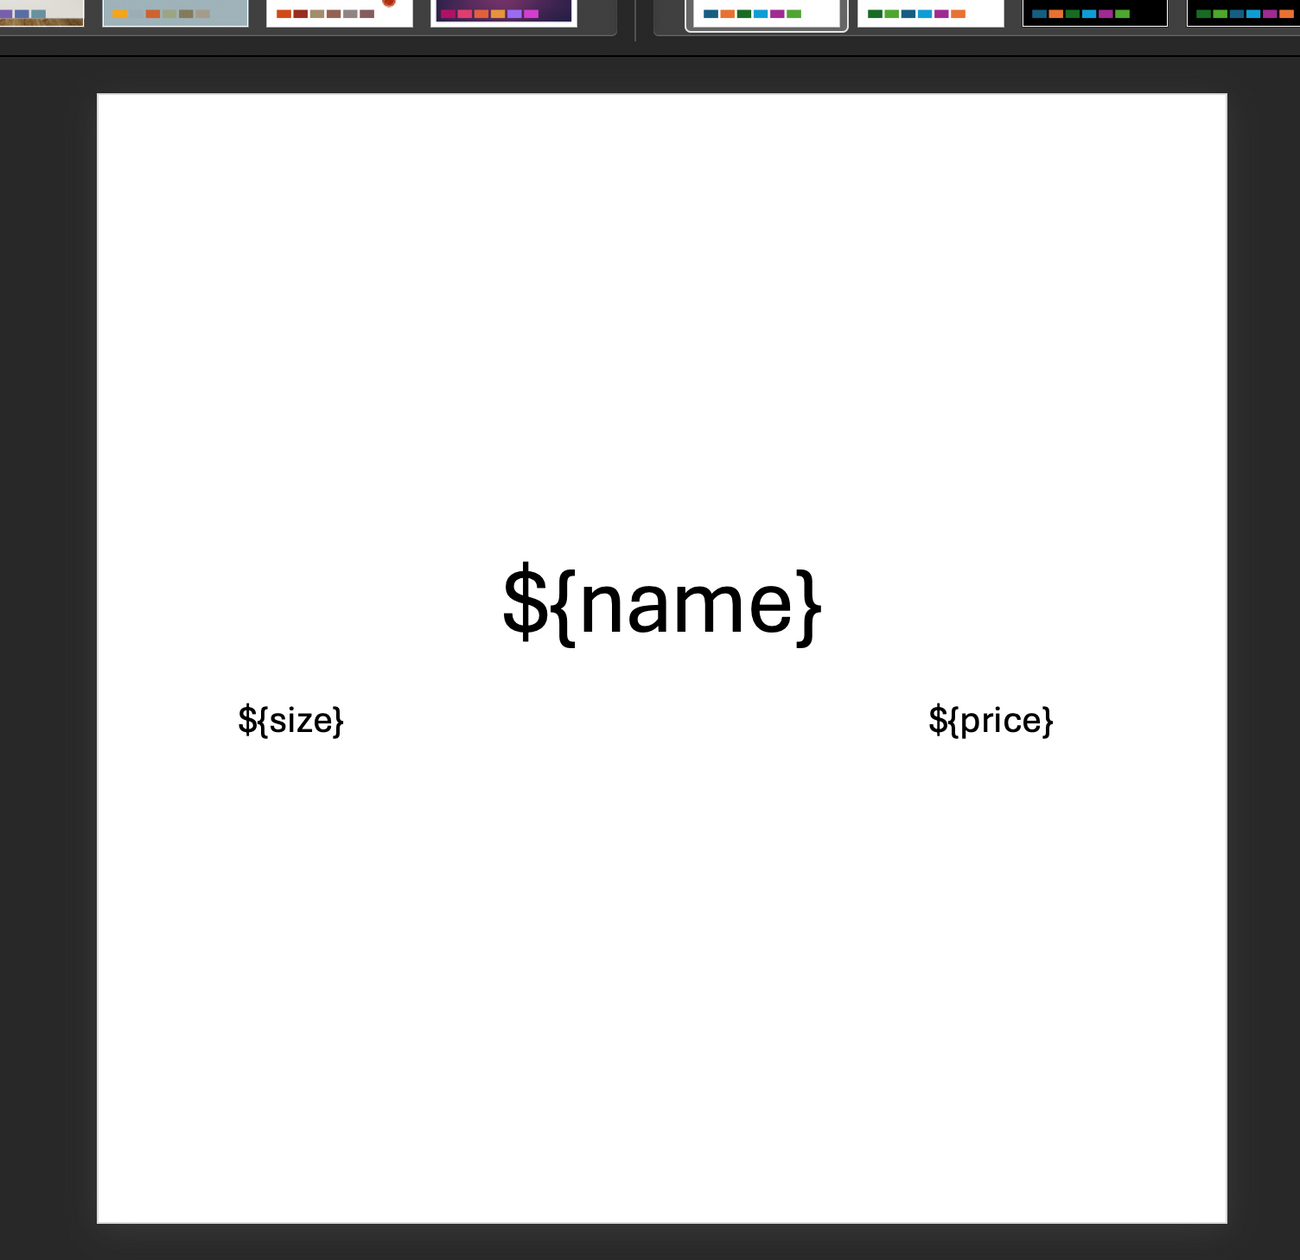
Here is a very simple example:
Creating The Preset
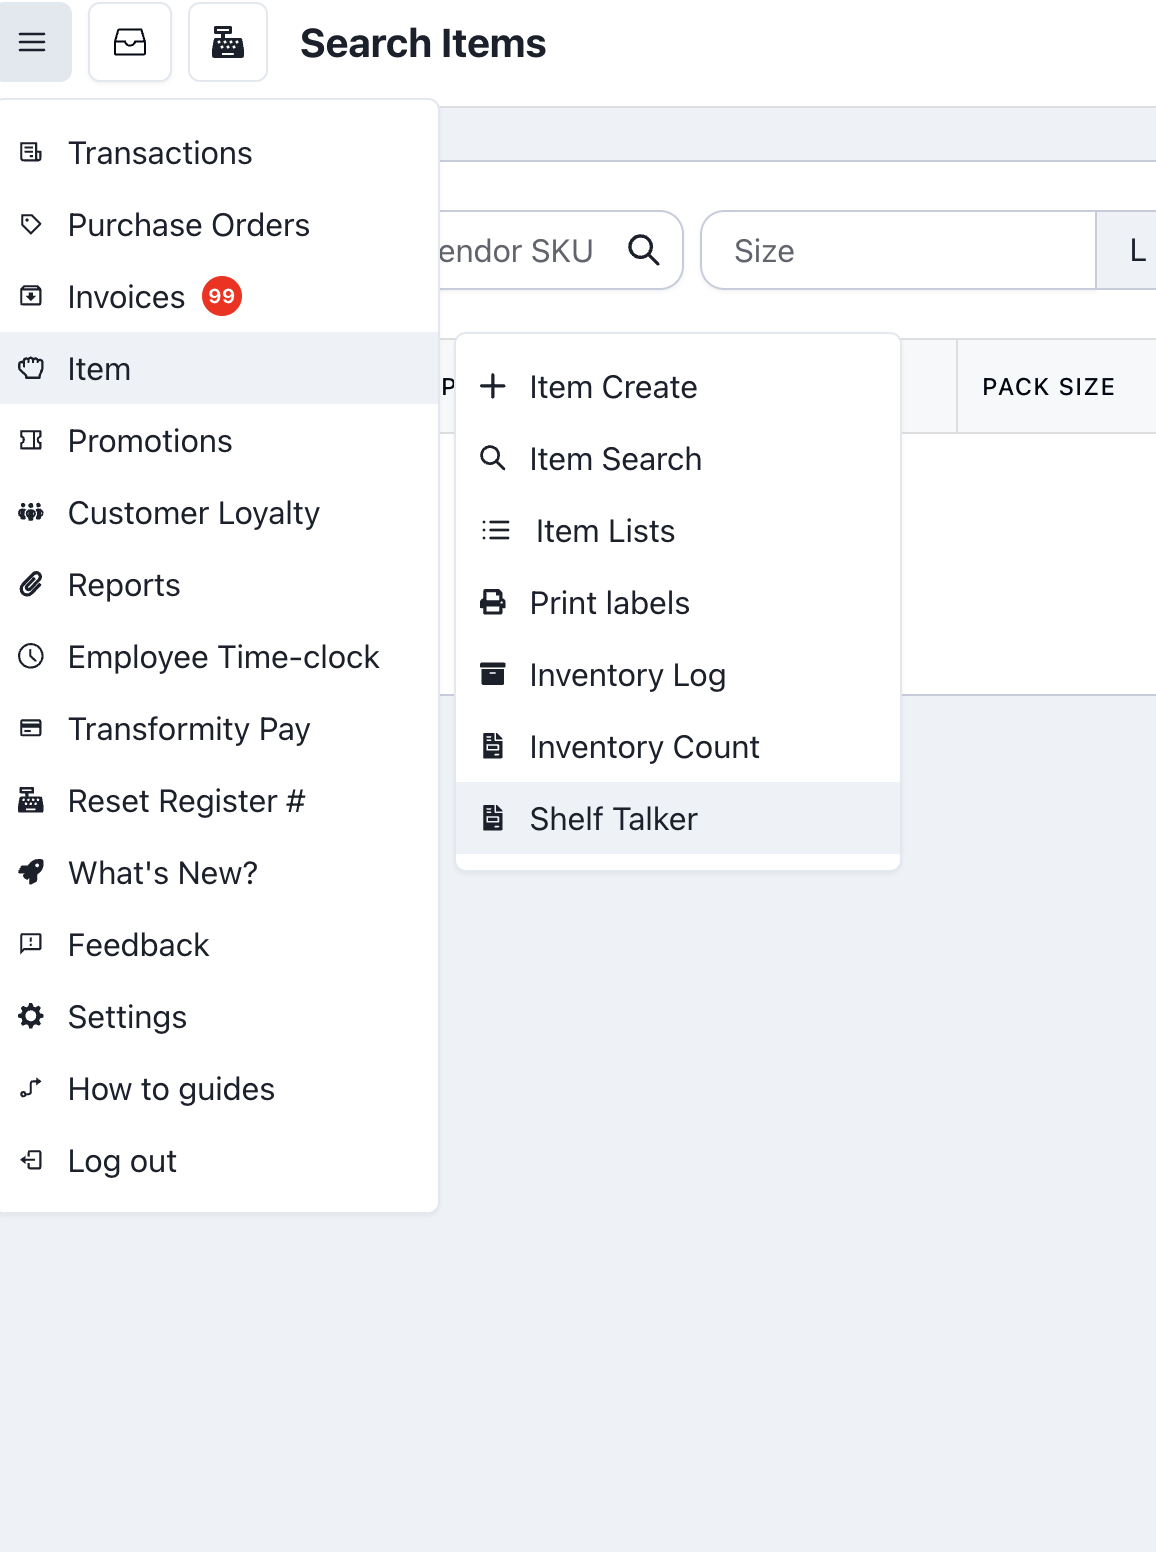
In the POS, go to Item -> Shelf Talkers.
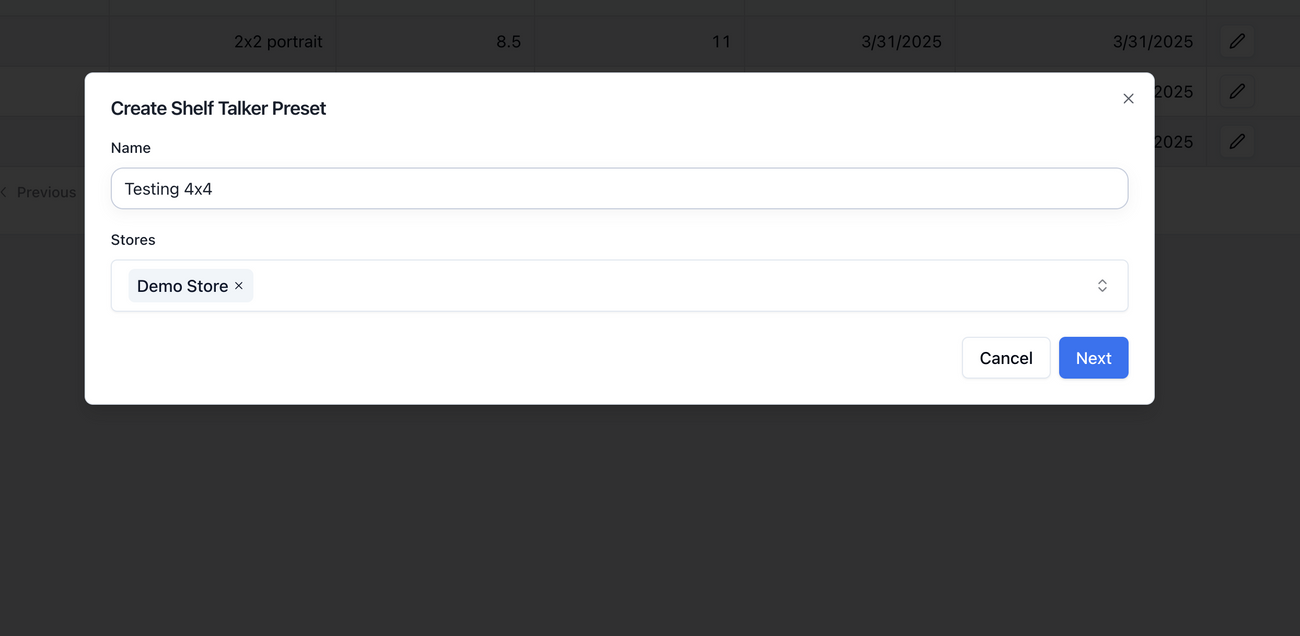
Click on the Preset tab and click on 'Create Preset'. Fill out the name and which of your stores you would like to give access to this preset.
On the next page, drag and drop the powerpoint template into the provided area. Adjust the paper size you are going to be printing this preset on, and the number of columns and rows. This part is important because you generally want to fit as many shelf talkers as you can on one sheet of paper to avoid wasting paper. If you input too many rows or columns, while running the generation task, it will fail with an error message like "Layout columns exceed page width"
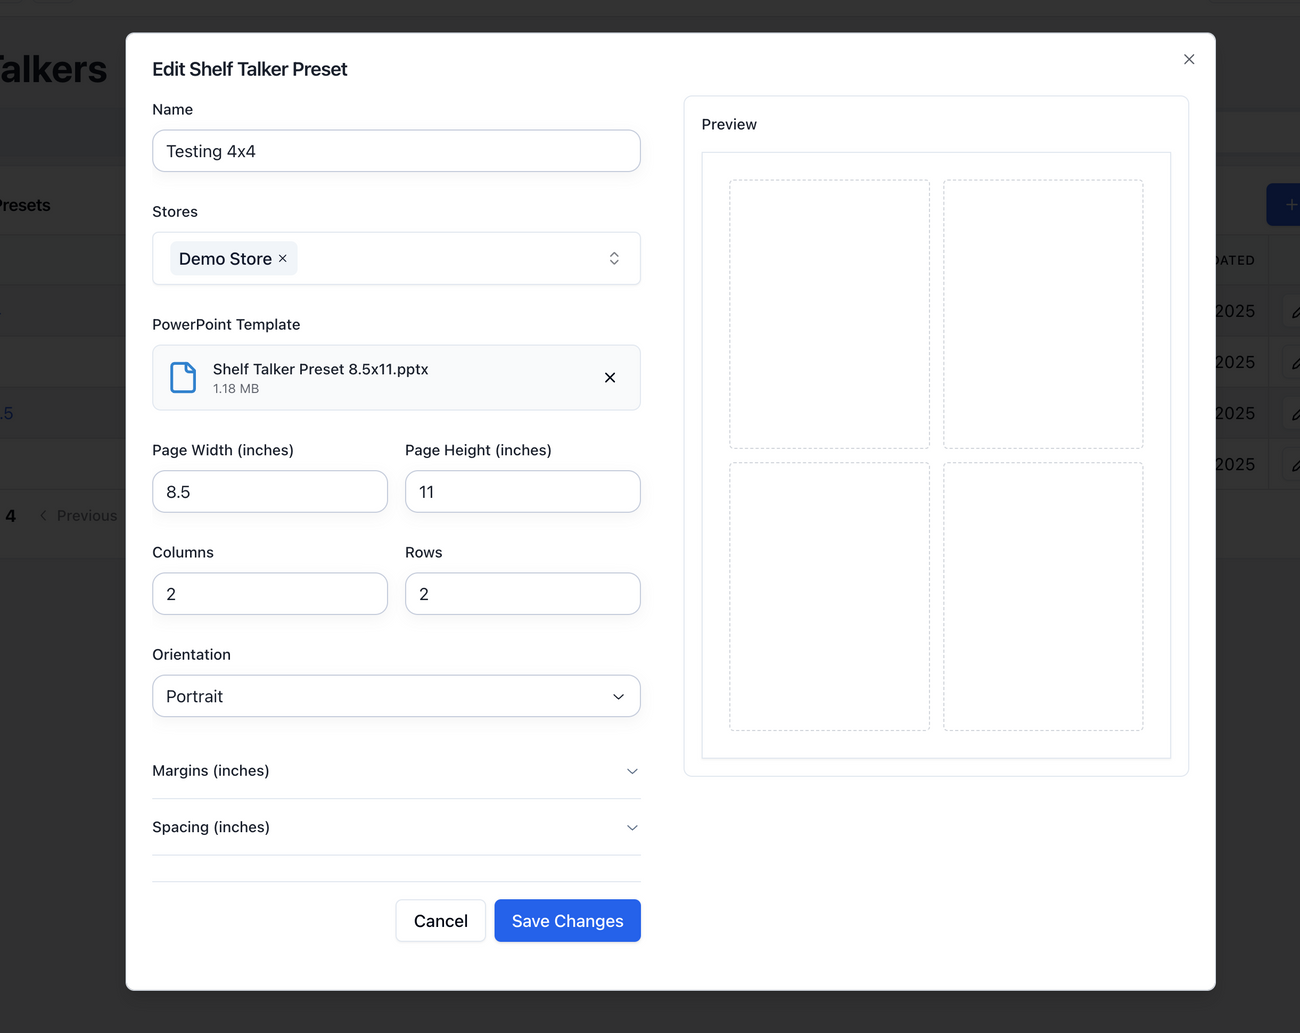
You may optionally also adjust the margins and spacing. By default there are 0.5in margins on each side and 0.25 in of spacing between each shelf talker.
Generate Shelf Talker Based on the Preset
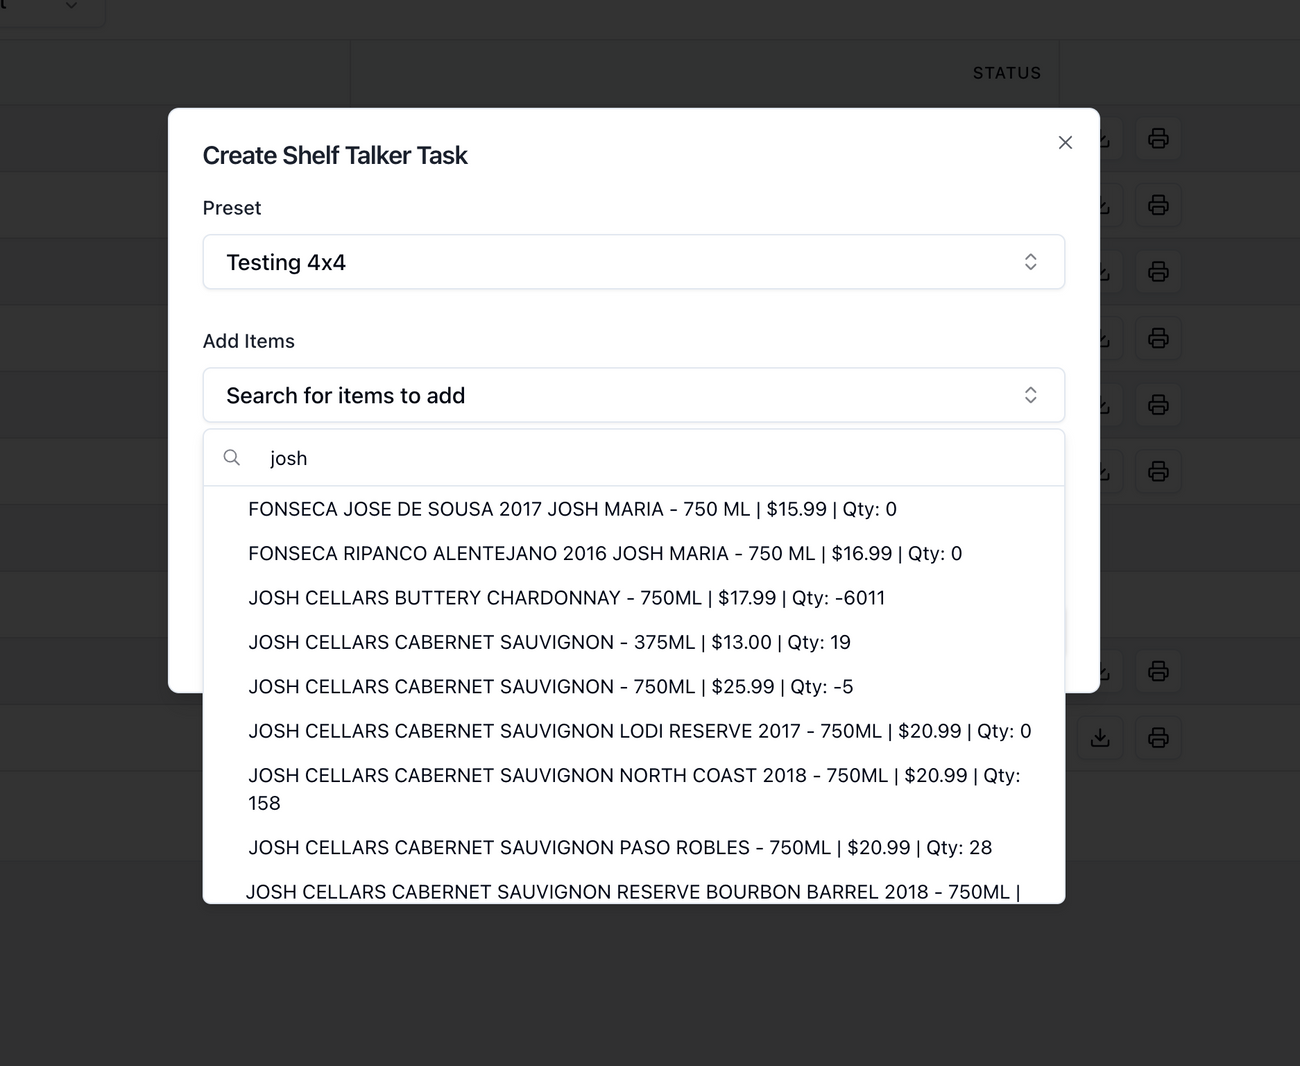
Once your preset has been created, go over to the tasks tab. Here you can press 'Create Task'. Select the preset and add items to the generation task:
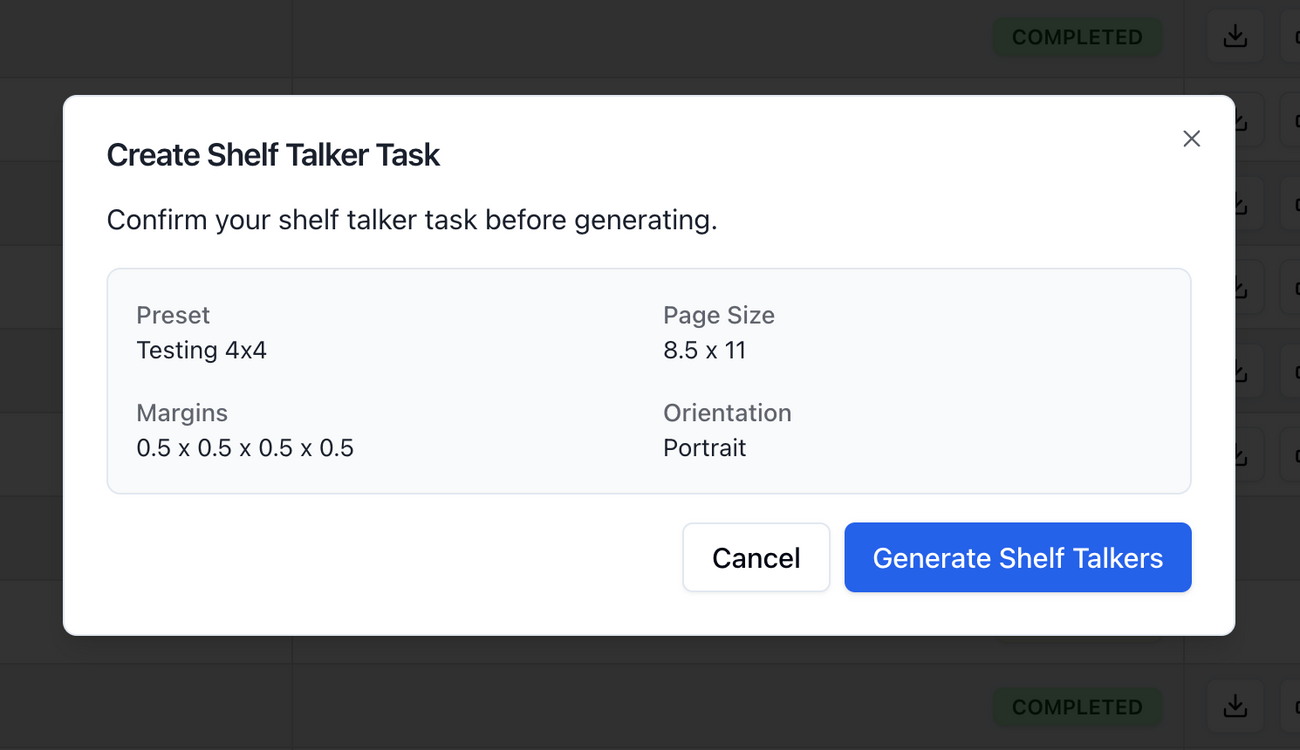
Once generated, you may print or download the PDF