Zebra Label Printer Setup Guide
Last updated June 20, 2025
Follow these steps to set up your Zebra label printer:
1. Hardware Setup
- Connect the power cable to the label printer and plug it into an outlet.
- Insert a roll of 2.25" x 1.25" label paper. (Recommended size)
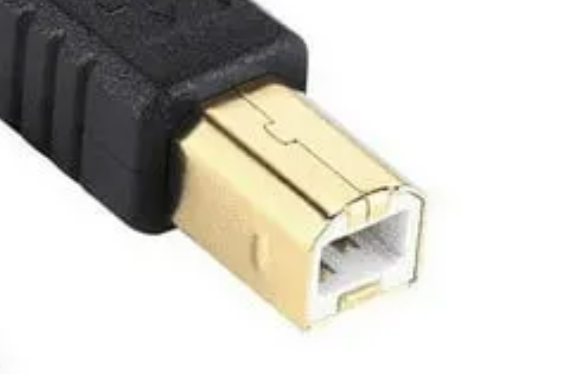
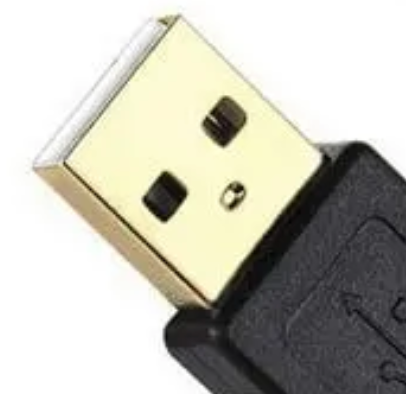
- Connect the USB cable:
- USB-B end → Label printer
- USB-A end → Computer
2. Software Installation
- Download and install Zebra Browser Print: Request Zebra Browser Print (PC)
- You can enter in any information into the request form
- Just make sure you add @gmail.com to the end of the email on the request form
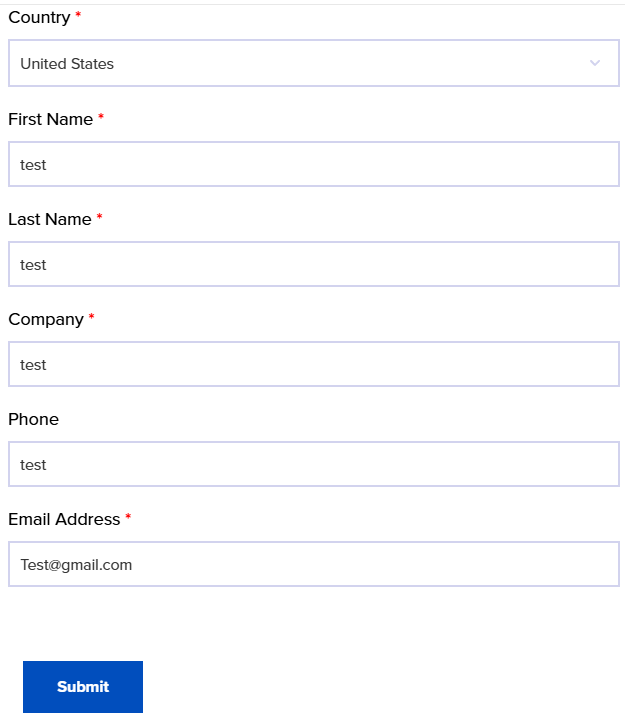
- Follow the default installation steps
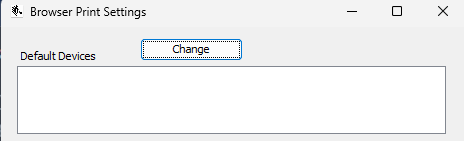
3. Configure Zebra Browser Print
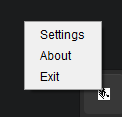
- After installation, open the Zebra Browser Print Settings:
- If it doesn't open automatically, click the upward arrow in the system tray (bottom-right of the screen)


- Right-click the Zebra Browser Print icon

- Click Settings
- Select the change on the top of the menu, and choose printer ( there should be only one option
4. Final Steps
- Close all web browsers (including DrinksPOS)
- Reopen your browser and application
You should now be able to print labels successfully
*** NOTE THAT THE PROGRAM MUST BE OPEN IN ORDER FOR THE LABEL PRINTER TO WORK AS INTENDED***
Was this article helpful?